{{#infoboxbuilder: | 0:Theme = MC1 default | 0:ToggleContentLongerThan = 1000
| 1:Type = Footer
| 1:Value =
| 2:Type = Line
| 2:Label = Chapter
| 2:Value =
| 3:Type = Title
| 3:Value = Sand Hits the Fan
| 4:Type = Image
| 4:Value = 
| 5:Type = Line
| 5:Label = Objective
| 5:Value =
| 6:Type = Line
| 6:Label = Character
| 6:Value = Warrens
| 7:Type = Line
| 7:Label = Faction
| 7:Value =
| 8:Type = Line
| 8:Label = Enemy
| 8:Value =
| 9:Type = Line
| 9:Label = Location
| 9:Value = Unidentified Middle Eastern city
| 10:Type = Line
| 10:Label = Date
| 10:Value = Unknown
| 11:Type = Line
| 11:Label = Rewards
| 11:Value =
| 12:Type = Line
| 12:Label = Multiplayer map
| 12:Value =
| 13:Type = Footer
| 13:Value =
}} Sand Hits The Fan is the third mission of Modern Combat: Sandstorm. In this level, Lieutenant Warrens and his squad attempt to destroy the remaining communications towers from the previous level.
Characters[]
Plot[]
Lieutenant Warrens and his squad have been sent in to take out a series of communication towers around the city, but have met heavy resistance. The squad fights to destroy the last remaining towers, and are successful, but are forced to seek shelter in a local palace due to the high amount of local resistance.
Walkthrough[]
This level is pretty similar to Operation Sandstorm, and won't add anything too exciting.
First of all, a Weapons Crate is to the right of the player's starting position, and contains an AK-47, and a Benelli M4. Choose a loadout and move out. Kill the lone enemy before the ally, then prepare for the first of many long-range fights. If the player took the MN106, they can engage the waves of enemies in the alley all the way from the start. Otherwise, move down the alley and kill all the enemies that appear. At the end of the alley, the stairs on the left have grenades at the top. Grab them and continue through the gate.
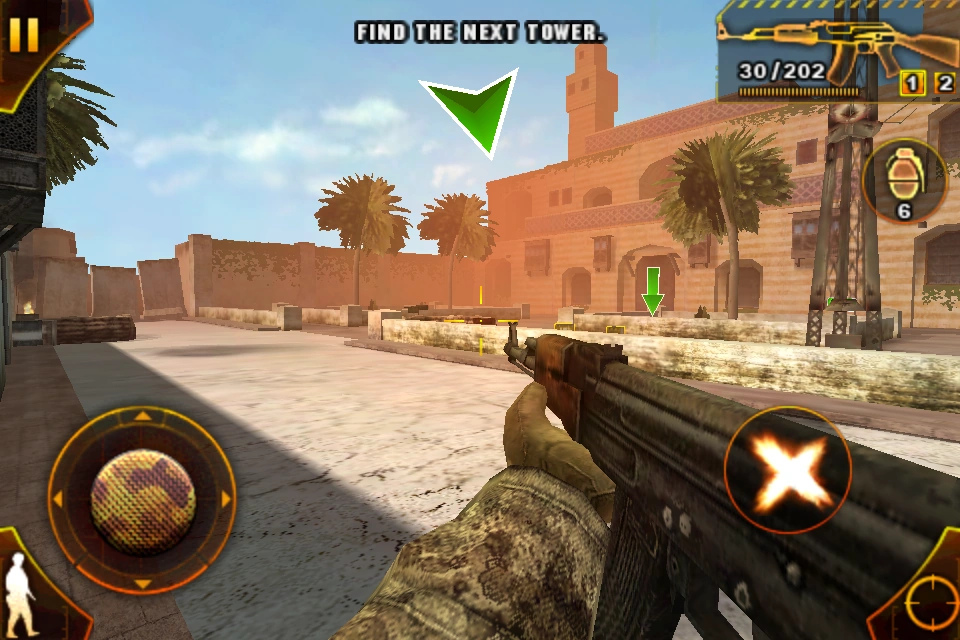
Kill the enemy on the balcony, then continue down the second alley. Be wary of enemies in the craters on the street. They can be hard to spot at a distance. Destroy the second tower and head through the newly-opened doorway. Head downhill and turn left for a meeting with Fox and a quick cutscene. The Weapons Crate in the garage holds an MN106 if the the player needs it. Leave Fox behind and continue uphill. Kill the two enemies ahead, the enemy in the crater, and the enemy to the left. Continue to the alley ahead. Here, the player can grab an RPG-7 from the garage directly ahead, which can be used to easily clear a path down the alley, though it is recommended that the player swap it back afterwards, as it is a generally unpractical weapon. Destroy the tower and go through the door it opens.
Follow the linear path, killing the usual enemies, until the player encounters a burning pile of rubble and an enemy with a shotgun. Kill him, follow the path downwards and kill the next two. However, in the next room, move behind cover immediately, as the door in the opposite building will open to reveal a Turret who will immediately attack. Unwary players can easily die here, especially on higher levels. Kill all the enemies in the opposite building, then proceed through it. Follow the linear path to the end, then head down yet another alley to the server room for another cutscene.
With the server room gone, only one tower remains. Follow another walled path downwards, then head into a courtyard. Kill the enemies that appear, then head to the end. There are grenades in the garage to the left, otherwise, head right and upwards to a palace, as well as the last tower. Kill the Turret gunner, then the other two enemies. Blow up the tower, kill the two enemies that appear, then head towards the palace to finish the level.
Equipment[]
Starting Loadout
Found in Level
Gallery[]
")
")
")
")
")
")
")
")
")
Achievements[]
- Eleventh Hour: Kill 20 enemies with the Rocket Launcher in Mission 3.
See also[]
| Campaign of Modern Combat: Sandstorm | |
|---|---|
| Missions | Back In Business • Operation Sandstorm • Sand Hits the Fan • Extraction • Death on Wheels • Subterranean Blackout • Medical Emergency • A Nuke Too Far • Underground Compound • The Last Stretch |
| Characters | Lieutenant Warrens • Abu Bahaa • Khris • Vendette • Fox • Ryan • Dozer • Jones • Maurice • Bonnard • Nazair • Coupal • Drouin • Francoeur • LeBlond • Baz • Jackson • Franky |
| Factions | United States Army |
Trivia[]
- The extraction chopper is labelled a "Blackhawk", but is actually a UH-1 Iroquois.